
Installing ShapeBit
ShapeBit is a developer preview. Installing it erases the whole disk you choose.
What you need
- A 64-bit PC (x86-64) with UEFI, Secure Boot, and a TPM 2.0. Most PCs made since 2018 have them.
- A USB drive of at least 8 GB. Writing ShapeBit to it erases it.
- A disk for ShapeBit that holds nothing you want to keep.
1. Download
Download the installer,
shapebit-installer.img.xz.
You don’t need to decompress it: the tools below read it as it is. To check
the download, compare its SHA-256 checksum with
SHA256SUMS.
2. Write it to the USB drive
Use one of these free tools:
- balenaEtcher (Windows, macOS, Linux):
Flash from file, pick
shapebit-installer.img.xz, Select target, pick the USB drive, then Flash! - Rufus (Windows): pick the USB drive under
Device, click SELECT, pick
shapebit-installer.img.xz, then START. Keep the settings Rufus chooses.
When it’s done, Windows or macOS may say it can’t read the drive and offer to format it. Choose Cancel: formatting would erase the installer.
Is there an ISO?
No. The installer is a disk image (.img), not an ISO, and you can’t convert
it to one: renaming the file doesn’t work. You don’t need an ISO, because
Rufus and balenaEtcher write the disk image directly.
Installing in a virtual machine
Virtual machines don’t need a USB drive: attach the installer as a disk.
- Download
shapebit-installer.img.xzand decompress it toshapebit-installer.img, for example with 7-Zip orxz -d shapebit-installer.img.xz. -
Convert it with
qemu-imgto the format of your virtual machine:Virtual machine Command VirtualBox qemu-img convert -O vdi shapebit-installer.img shapebit-installer.vdiVMware qemu-img convert -O vmdk shapebit-installer.img shapebit-installer.vmdkHyper-V qemu-img convert -O vhdx shapebit-installer.img shapebit-installer.vhdxQEMU and virt-manager use
shapebit-installer.imgas it is. - Create the virtual machine with UEFI, Secure Boot, and a TPM 2.0:
- VirtualBox: Enable EFI, Enable Secure Boot, and TPM v2.0.
- VMware: UEFI firmware with Secure Boot, and a Trusted Platform Module.
- Hyper-V: Generation 2, Secure Boot with the Microsoft UEFI Certificate Authority template, and Trusted Platform Module.
- Attach the converted installer and an empty disk of at least 16 GiB, and start from the installer. Continue with step 4. When the installation is done, detach the installer.
3. Prepare the PC
In the PC’s firmware settings (often F2, Del, or F10 at power-on):
- Leave Secure Boot on.
- If you see an option for Microsoft’s third-party UEFI certificate (“Allow Microsoft 3rd Party UEFI CA”), turn it on. Some Windows PCs turn it off by default.
- Turn off Legacy boot (CSM) if it’s there.
4. Boot the USB drive and accept ShapeBit’s key
Plug in the drive and choose it in the PC’s boot menu (often F12, F11, F8, or Esc at power-on).
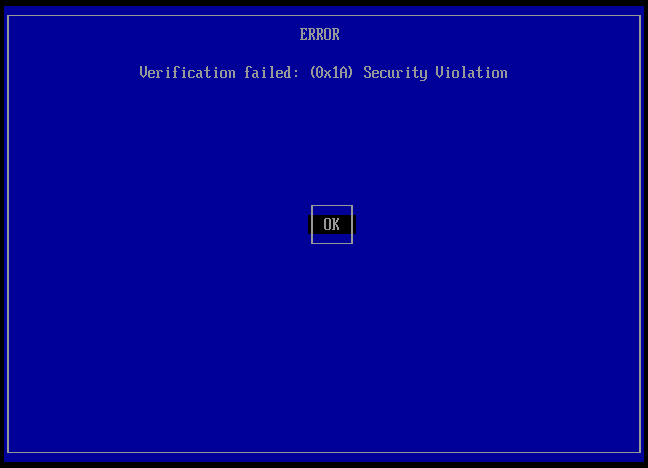
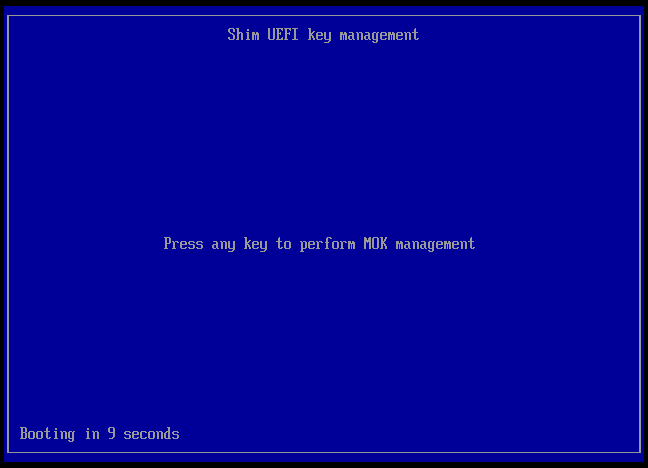
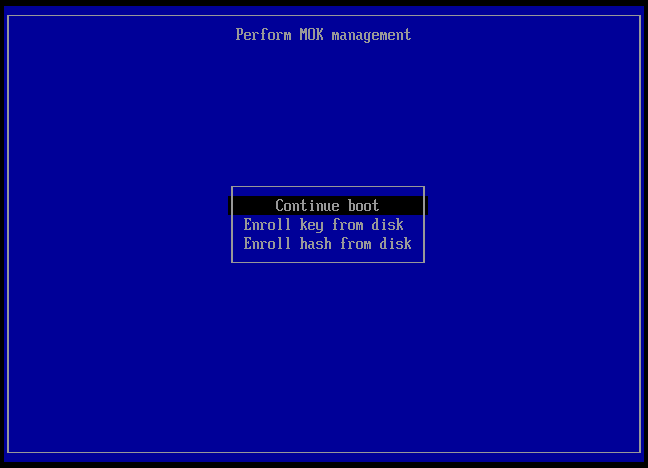
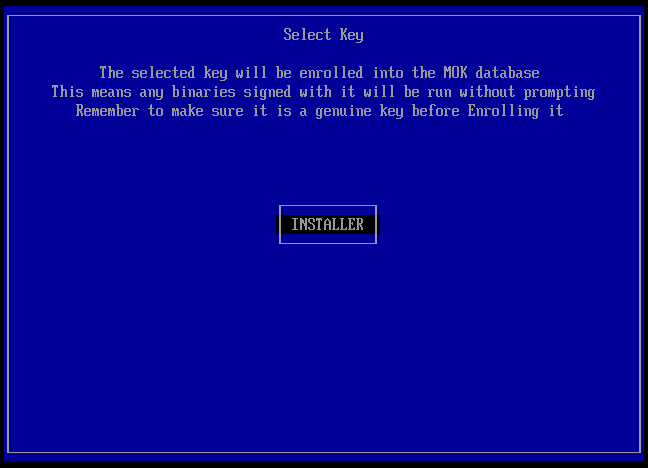
The first time on each PC, the startup stops at a blue screen, because the PC doesn’t know ShapeBit’s key yet. You accept it once, and that PC trusts it from then on. No password is needed. Use the arrow keys and Enter:
-
Verification failed: choose OK.
-
Press any key to perform MOK management: press a key within 10 seconds. If you miss it, restart and boot the drive again.
-
Choose Enroll key from disk.
-
Choose the drive (INSTALLER), then enroll-this-key.cer.
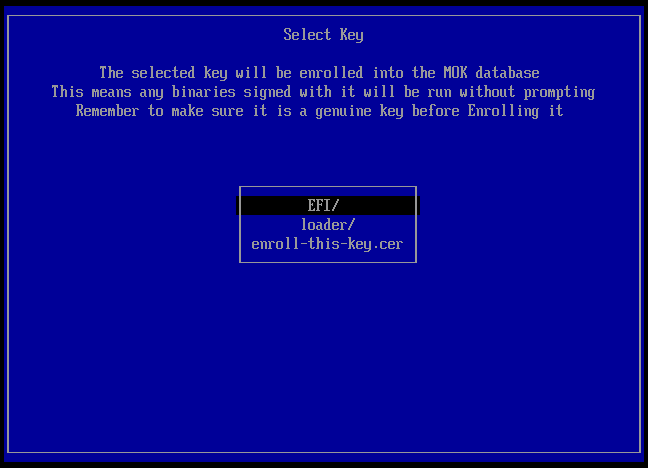
-
Choose Continue, then Yes.
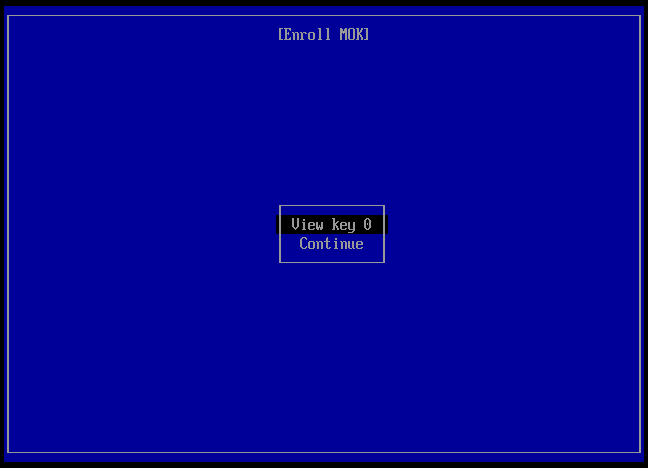
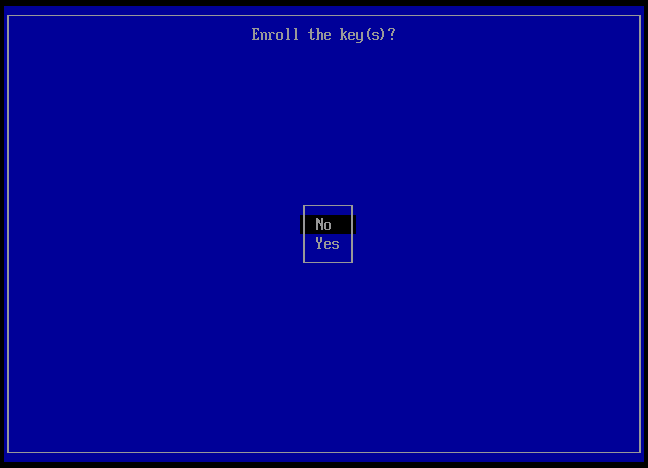
-
Choose Reboot. The PC starts the installer.
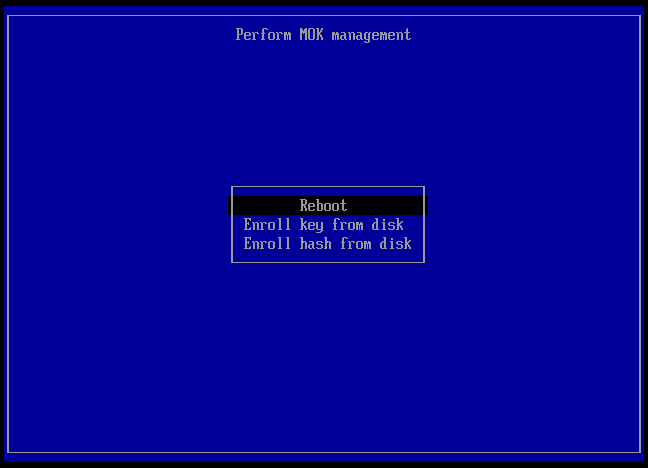
5. Install
The installer asks for your language, keyboard layout, network, time zone, and account, then the disk.
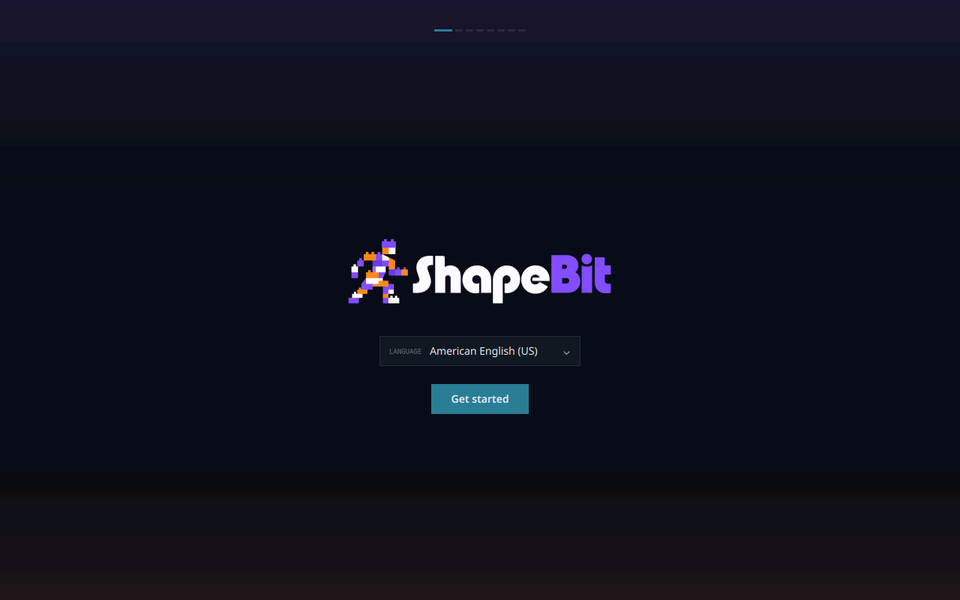
-
Network: choose Skip for now. The installer can’t connect to Wi-Fi yet, and it doesn’t need the internet.
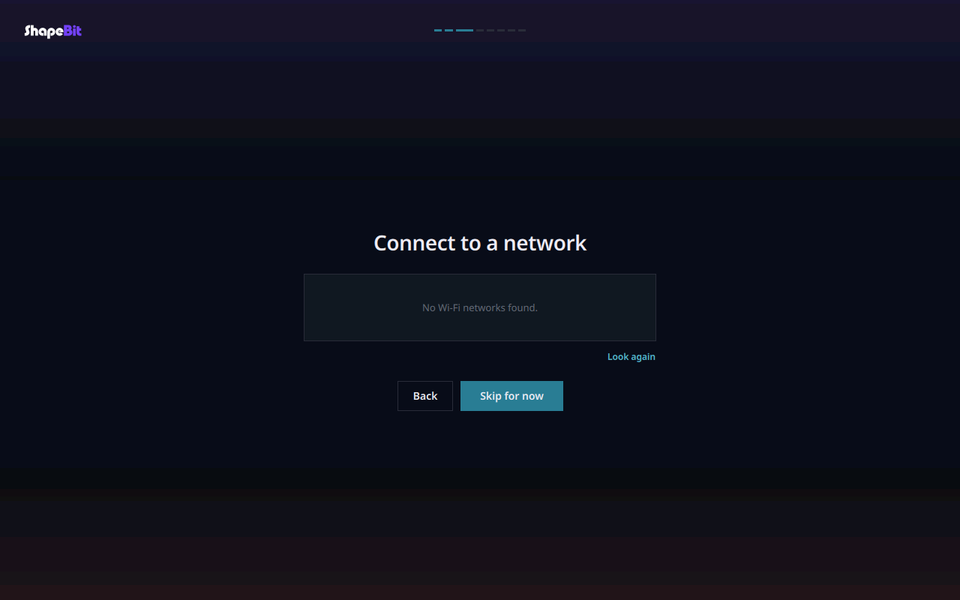
-
Account: your name and password. The password unlocks your session and your files.
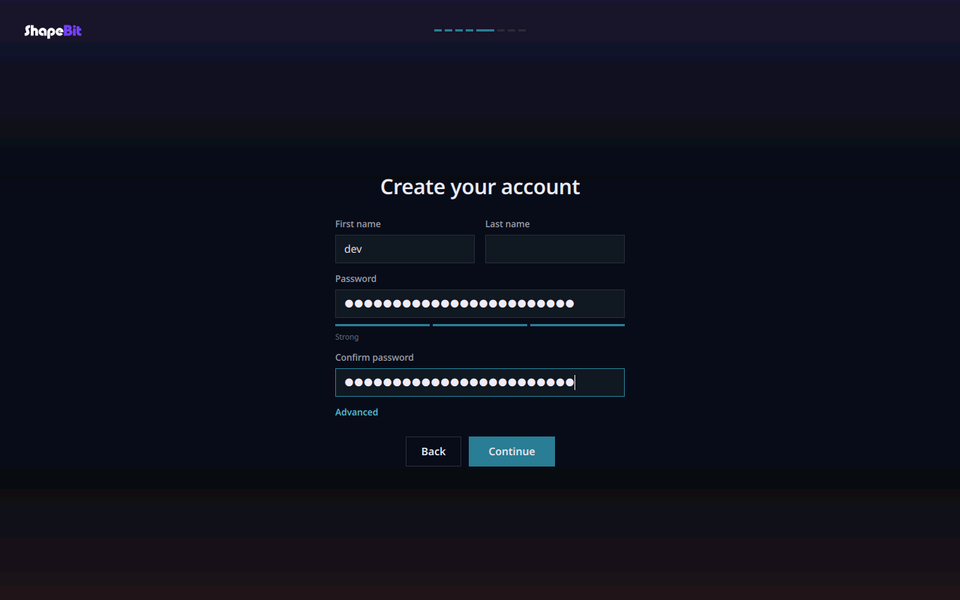
-
Disk: pick the disk, tick the box that says all its data will be deleted, then Erase disk and install ShapeBit.
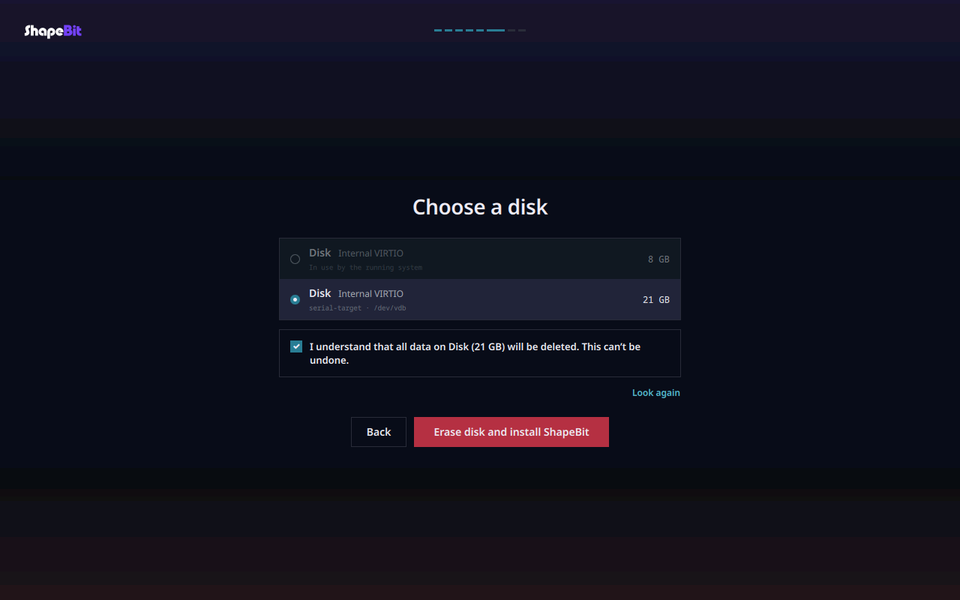
-
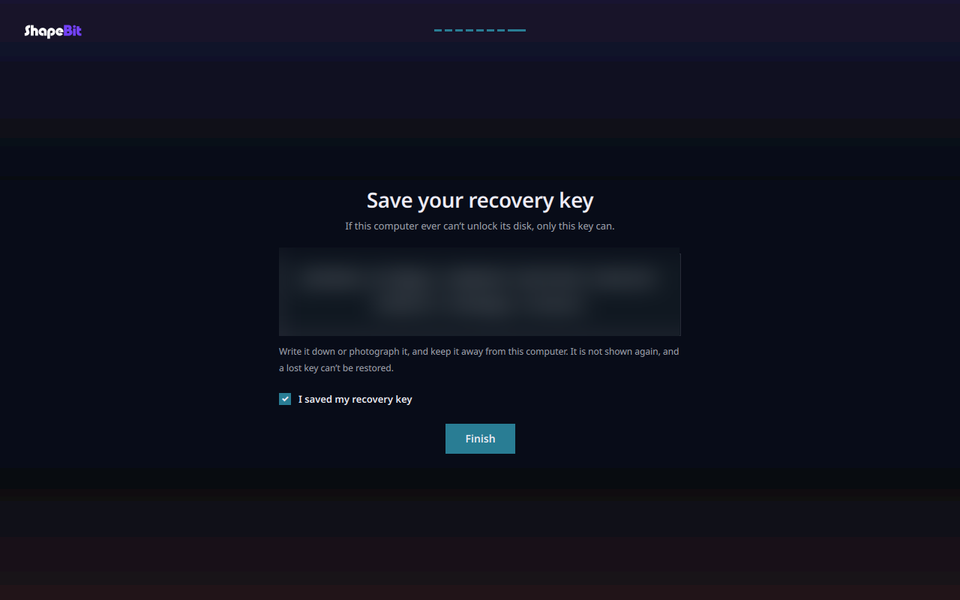
Recovery key: write it down or photograph it, and keep it away from the PC. It’s the only way in if the PC ever can’t unlock its disk by itself, and it’s never shown again.
6. Start ShapeBit
Remove the USB drive and restart. The disk unlocks by itself, and the login screen opens. After you sign in, Welcome connects you to the network and offers a browser and apps.
If the PC ever asks for a passphrase at startup, type the recovery key (Recovery).